Have you ever thought about stringing a tennis racket yourself? It might sound tricky, but with the right setup and a little bit of learning, it’s definitely possible. This guide is here to show you the essential tools and steps to get the job done. From choosing a stringing machine to the final pull of the string, we’ll cover everything you need to know. Let’s get your racket ready for the game.
Gathering the Right Tools
How to String a Tennis Racket: Essential Tools You Need
Stringing a tennis racket might seem like a task for professionals, but with the right tools and a bit of know-how, you can do it yourself. This guide will walk you through the essential tools you need to string a tennis racket, helping you save time and money while giving you a more personal connection to your equipment. Let’s dive in.
Essential Tools for Stringing a Tennis Racket
- A Stringing Machine
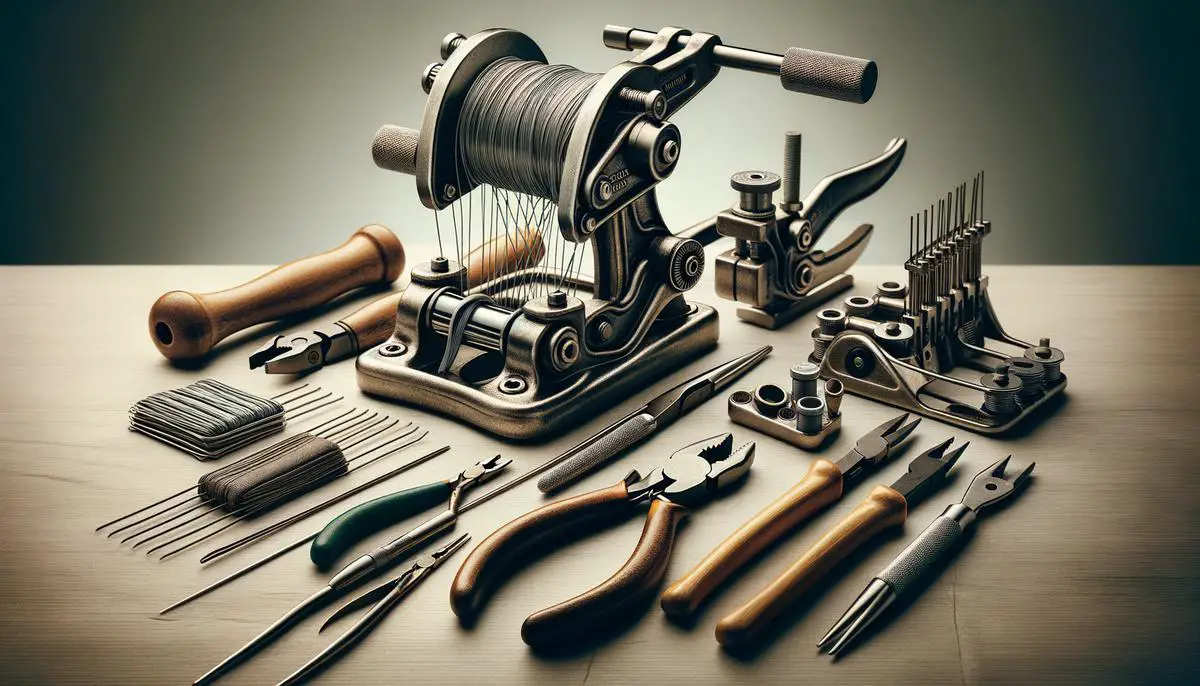
Your most critical investment is a stringing machine. There are two main types: crank and electric. Crank machines are more affordable and suitable for personal use. They rely on manual operation to stretch the strings. Electric machines are more advanced, providing consistent tension but come at a higher cost. Choose one based on your budget and stringing frequency.
- Stringing Pliers
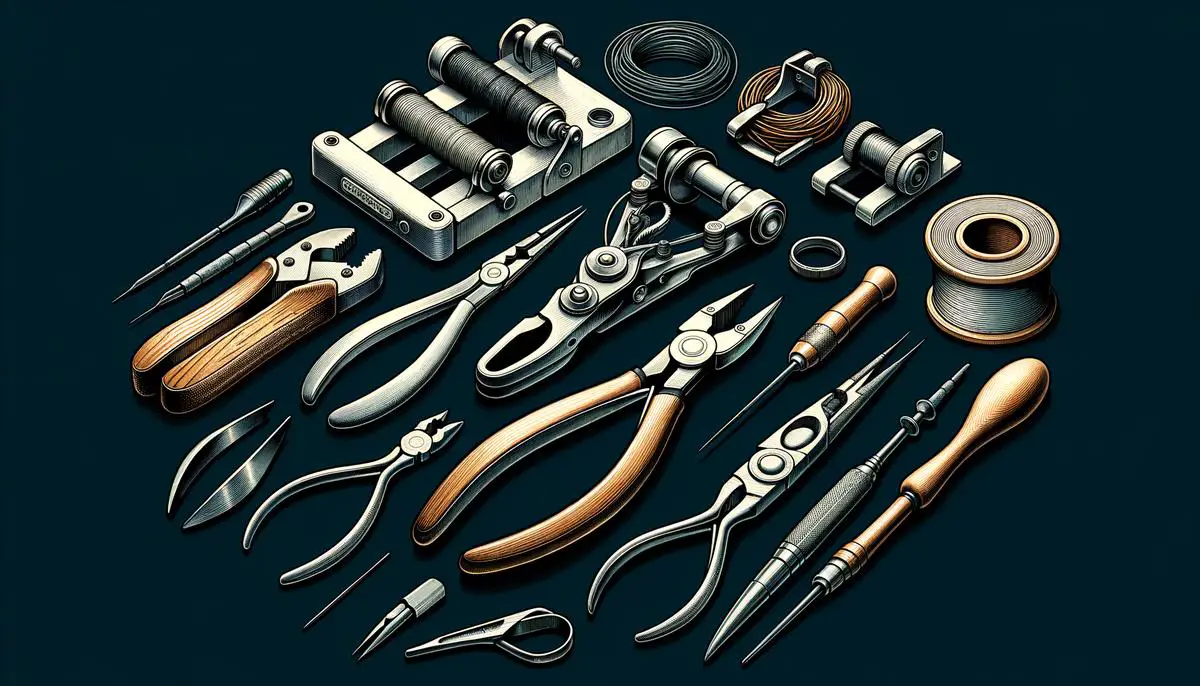
Stringing pliers are designed to pull and hold the string without damaging it. They come in handy when you’re trying to weave the string through tight spaces or when you need to pull it with a bit more force. Ensure they have a comfortable grip and a smooth jaw to prevent string damage.
- Awl
An awl is a pointed tool used to help guide the string through the racket’s grommets. It can clear obstructed holes or enlarge them slightly for easier string passage. Be gentle to avoid damaging the grommets or the frame.
- Cutter
A good cutter or sharp scissors are essential for trimming the excess string. Ensure they’re sharp enough to cut cleanly through the string to prevent fraying.
- Starting Clamp
A starting clamp is an external clamp that provides an additional grip on the string. It’s especially useful when starting to string or if you need to correct a mistake and temporarily secure an end.
- Grommet Grinder
Grommets, through which the strings are threaded, can sometimes get damaged. A grommet grinder allows you to smooth out any rough spots or replace damaged grommets, ensuring the string glides through smoothly without abrasion.
Final Thoughts
Stringing your tennis racket can be a satisfying experience, allowing you to customize the feel of your racket to suit your playing style. With these essential tools in hand, you’re well on your way to mastering this skill. Each tool plays a crucial role in the process, ensuring the string is installed accurately and with the right tension. Happy stringing!

Preparing the Racket
Preparing a tennis racket for restringing is a crucial step that ensures the longevity and performance of your racket. It’s an intricate process that requires patience, attention to detail, and the right tools. In this guide, we’ll walk through the steps to properly prepare your tennis racket for restringing, ensuring it’s ready to hit the court with improved tension and playability.
Inspect the Racket Frame
Before you start the restringing process, examine your racket’s frame closely. Look for any signs of damage, such as cracks, warping, or significant wear. Addressing these issues before restringing can save you time and enhance the racket’s structural integrity. If everything looks good, you’re ready to move on to the next step.
Remove Old Strings
Using a cutter or sharp scissors, carefully cut out the old strings. Start by clipping the center strings and work your way outwards. This method helps to maintain the racket’s structure by evenly releasing tension. Once all the strings are cut, remove them from the frame. Be cautious to avoid scratching the racket’s surface.
Clean the Racket
With the strings removed, use this opportunity to clean your racket. Wipe down the frame with a soft, slightly damp cloth to remove dirt, grime, and sweat residues. Pay special attention to the head and handle areas. Cleaning not only improves the racket’s appearance but also prevents potential damage to new strings upon installation.
Check and Replace Grommets
Examine the grommets—those small plastic tubes where strings pass through the racket frame. Look for any that are broken, worn, or missing and replace them as necessary. Grommets protect your strings from the sharp edges of the racket’s holes, so ensuring they’re in good condition is vital for both the racket’s and the strings’ longevity.
Secure the Racket in a Stringing Machine
Place your tennis racket on a stringing machine, securing it firmly in place. This machine will hold your racket steady as you work, making the restringing process smoother and more efficient. Ensure the racket is evenly balanced and clamped securely to avoid any movement during stringing.
Gather Your Tools and String
With your racket prepared and mounted, organize your stringing tools within easy reach. You’ll need the stringing machine, stringing pliers, an awl, a cutter or sharp scissors, a starting clamp, and potentially a grommet grinder if any grommet repairs were made. Choose your string type—whether synthetic or natural gut—based on your playing style and the feel you prefer.
Prepare to String
Now that your racket is cleaned, inspected, and properly mounted, with old strings removed and tools ready, you’re all set to begin the restringing process. Follow your string pattern carefully, and maintain consistent tension throughout for optimal performance. Remember, practice makes perfect, and over time you’ll refine your technique for restringing your tennis racket efficiently and effectively.
By following these steps, your tennis racket will be well-prepared for a fresh set of strings, allowing you to get back on the court with confidence. Whether you’re a seasoned player or just starting out, a properly strung racket can make a significant difference in your game.

Stringing Technique
Threading Strings Through a Tennis Racket
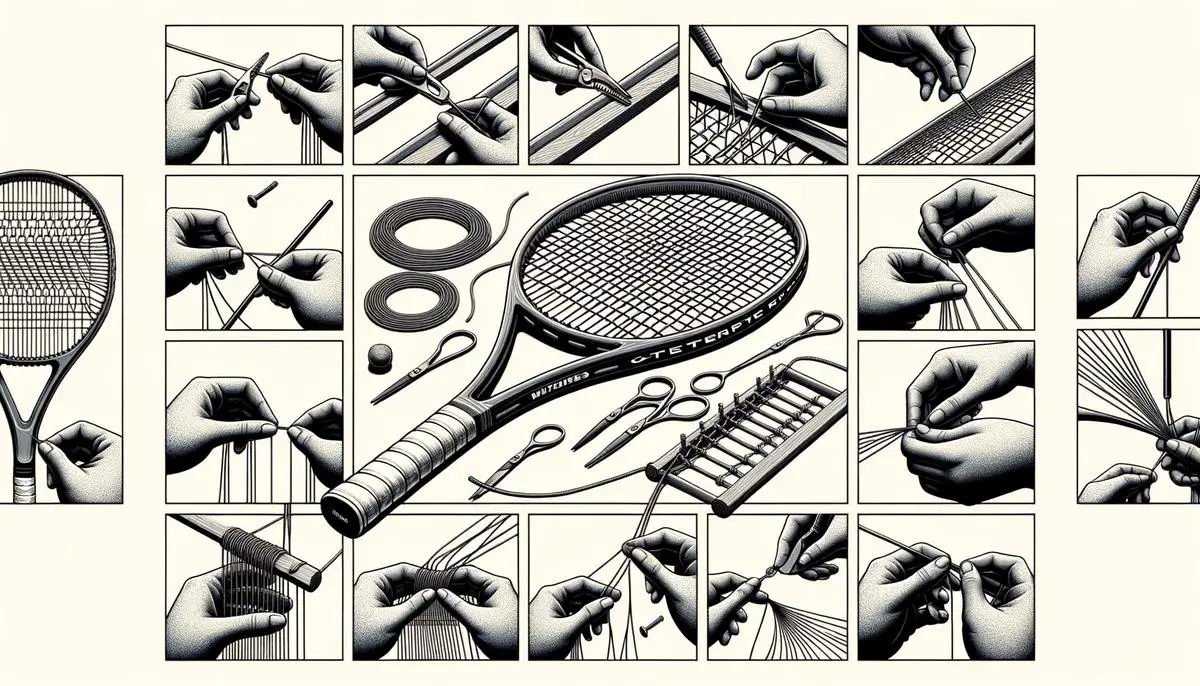
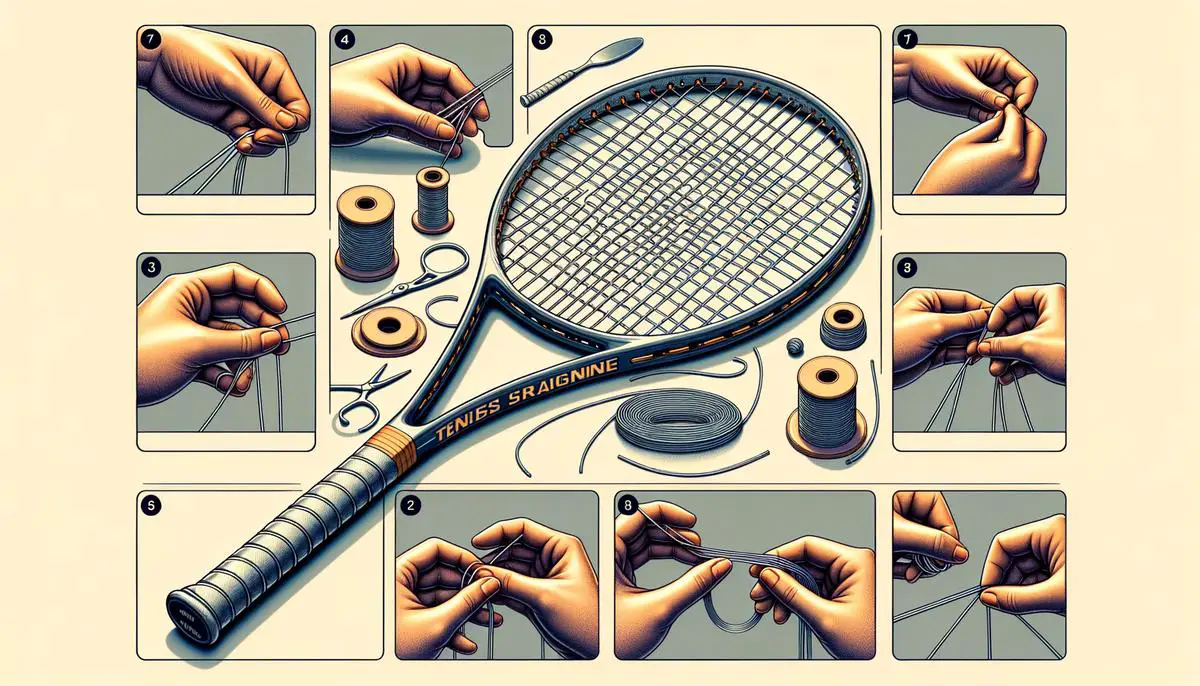
Threading strings through a tennis racket, also known as stringing, is essential for maintaining the equipment’s performance and ensuring a good game. To properly thread strings into your tennis racket, follow these step-by-step instructions.
- Plan Your String Pattern: Most tennis rackets follow either a 16×19 or an 18×20 string pattern, indicating the number of main (vertical) and cross (horizontal) strings. Before you start, know your racket’s specific pattern.
- Measure the String: For a standard racket, you’ll need about 40 feet of string. Cut the necessary length and ensure you have enough to complete the job without any shortcuts.
- Start with the Mains: The main strings run vertically in the racket’s frame. Locate the two centermost grommets at the head and the throat of the racket. Thread one end of the string through the centermost grommet at the head, pulling it through until you have equal lengths of string on each side. Use a starting clamp to secure one end near the head of the racket as you work with the other.
- Weave the Mains: Continue threading the main strings alternately, one on the right and then one on the left, securing each string with tension using the stringing machine. Remember, the tension should match your playing style, typically between 50-70 pounds. After finishing all the mains, secure the ends using a starting clamp.
- Begin the Crosses: The cross strings run horizontally. Start at the top of the racket, using the previously clamped end of the mains as the starting point. Thread the string through the top grommet on one side, pulling it across to the opposite side. Use the same tension as the mains for consistency.
- Weave the Crosses: Weave the cross strings over and under each main string, alternating as you move down the racket. This interlacing is crucial for the string bed’s stability and performance. A tip to ease this process is to slightly bend the tip of the string or use an awl to gently open the weaves if necessary. However, be careful not to damage the strings or the racket.
- Secure the Ends: Once all the crosses are threaded, secure the final end of the string using a knot that can fit through the grommet yet strong enough to hold the tension. A double half hitch knot is commonly used for its reliability.
- Trim Excess String: Using your cutter or sharp scissors, trim any excess string leaving about a quarter inch from the knot to prevent it from pulling through.
- Check for Consistency: Review the string bed to ensure even spacing and tension across the entire racket. Adjustments can be made if necessary before the final setup.
- Release the Racket: Carefully remove the racket from the stringing machine. Inspect your work, ensuring all strings are properly seated in their respective grommets and the tension is uniform.
By following these steps, you’ll ensure your tennis racket is strung correctly, providing optimal performance during play. Remember, practice makes perfect, and each stringing session will refine your skills further. Happy playing!

Stringing your own tennis racket is more than just a task; it’s a skill that connects you directly to the heart of the game. Each piece of the process, from selecting your tools to threading the last string, adds a personal touch to your equipment, enhancing your experience on the court. With the guidance provided, you’re now equipped to tackle this challenge, ensuring your racket is always in top condition. Remember, every string you thread brings you closer to mastering this invaluable skill. Happy stringing, and see you on the court.
