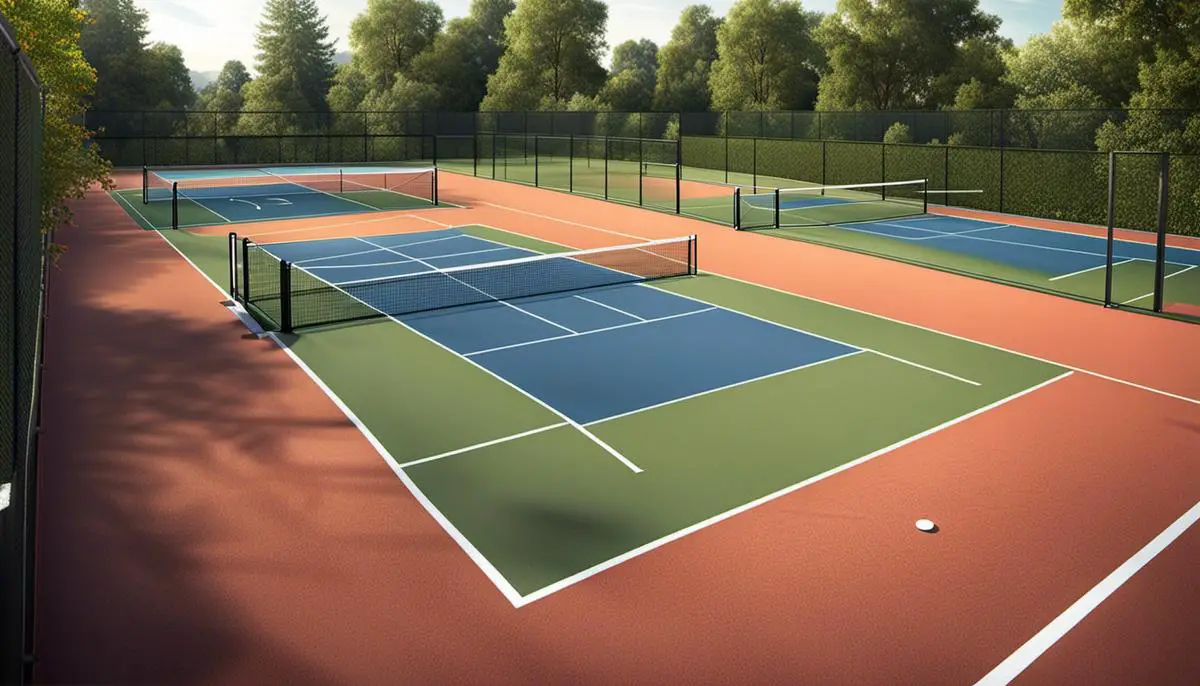
Welcome to an enlightening journey where we explore the exciting world of setting up a DIY pickleball court. This endeavor is not just a fun project to undertake, but a means of bringing a thrilling sport right to your doorstep. Whether you are an avid player looking to have your court, or a community leader looking to provide a space for festive pickleball games, this guide is brimming with rich insights. We delve into critical specifics such as understanding pickleball court dimensions, surface selection and preparation, mastering the artistry of marking and painting the courts, and finally, unraveling the mystery behind installing the net and infusing those finishing touches. The wisdom herein not only equips you with the necessary skillset to create a pickleball court but offers maintenance tips to sustain the court in pristine condition for longer.
Understanding Pickleball Court Dimensions
Understanding the Dimensions of a Pickleball Court
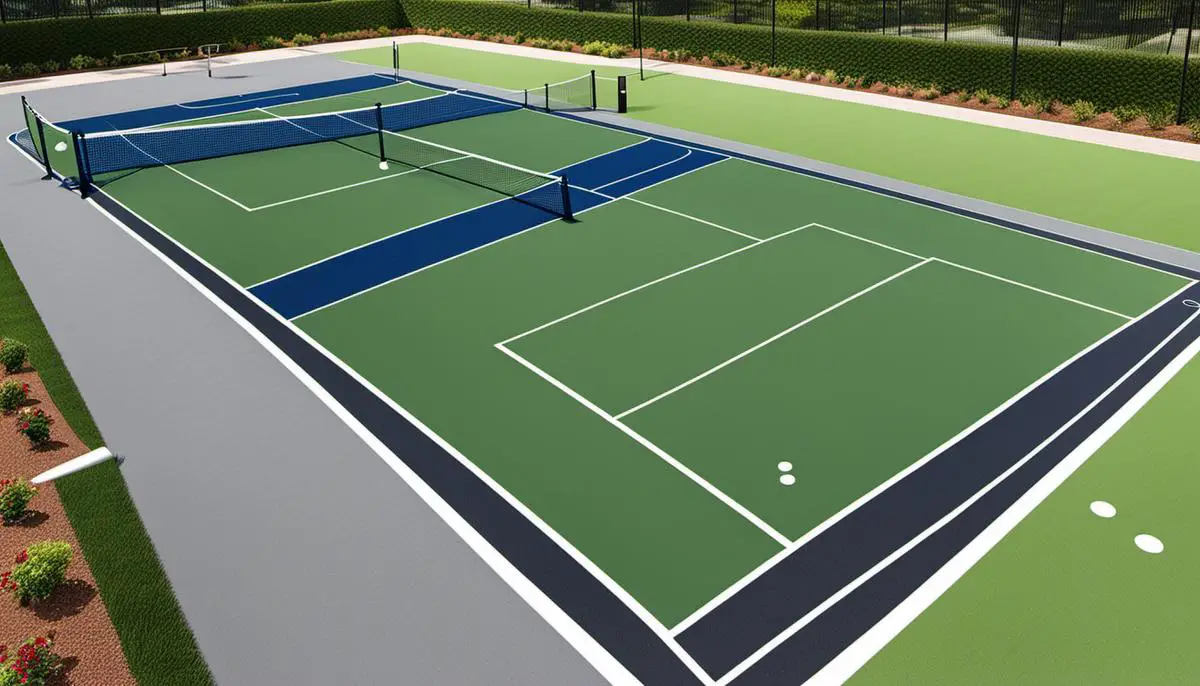
The standard dimensions of a pickleball court are similar to a badminton court, measuring 20 feet wide by 44 feet long. This includes space for both in and out-of-bounds play. The court is evenly split into two halves, giving each player or team an area of 22 feet by 20 feet to cover.
Net Height
The net in pickleball court plays a crucial role in how the game is played. The net divides the court into two halves and its dimensions often influence how high a ball can be hit over it. A properly set up pickleball net should measure 36 inches high at the sidelines and 34 inches in the middle. The net should be taut and securely fastened to the poles on either side.
Service Boxes: Defined by sidelines and service lines
Pickleball involves serve and return of serve, both of which occur from specific places on the court — the service boxes. A pickleball court is divided into two service boxes by a center service line. The area behind the service line and within the sidelines is where the serving player must stand when serving. Each service box measures 15 feet from the net to the baseline, and 10 feet wide from the center service line to the sideline.
Non-volley Zone or ‘the Kitchen’
In pickleball, the non-volley zone, colloquially known as ‘the Kitchen’, is the seven-foot area on either side of the net. No volley shots are allowed in this zone, meaning, the player cannot hit the ball in the air before it bounces once. The non-volley zone extends to the left and right from the net post up to the sidelines. Its sides are determined by the non-volley zone lines, and any player standing within this zone cannot play a volley shot.
Additional Dimensions
Additional space should be allowed around the court for player safety and for balls to bounce and roll. A total playing area of 30 feet width by 60 feet length is ideal, but a minimum of 5 feet of unobstructed area around the court should be preserved to prevent player injury.
Understanding these standard dimensions and rules is essential for setting up a pickleball court anywhere. Whether in a park, an athletic club, or your backyard, these measurements are the standard basis for a fair and regulated game of pickleball. Remember, ensuring safety and clear boundaries can make the game enjoyable for all involved.
Surface Selection and Preparation
Choosing the Surface: Various Options Available
There are several types of surfaces on which you can construct a pickleball court – each with its own pros and cons. Some of the most common include grass, asphalt, and concrete. Grass, while soft and inviting, requires a lot of maintenance to ensure it remains flat and free of divots. Asphalt and concrete, on the other hand, are much more durable and require less maintenance, but can be harsher on players’ joints due to their rigid nature.
Grass Surface: Needs Regular Maintenance
Creating a pickleball court on grass may need additional time and effort compared to other surfaces. The first thing to keep in mind is the grass must be cut short and regularly maintained at a consistent height to avoid any bumps or uneven areas. Additionally, you might need to level the ground underneath the grass, which can be a labor-intensive task.
Asphalt Surface: Highly Durable and Low Maintenance
Asphalt can be an excellent choice for a pickleball court due to its resilience and durability. It is less affected by weather and can take on constant wear and tear. As with any surface, the area where your court will be needs to be flat. If the asphalt area is uneven, it will need some degree of preparation such as filling in cracks, leveling uneven parts, or even repaving.
Concrete Surface: Perfect for Permanent Court
If you’re planning to invest in a permanent court, concrete should be your top choice. It’s extremely durable and if properly constructed, it will provide the smoothest playing surface possible. However, keep in mind that concrete work could be more challenging and require professional expertise. Correctly screeding (leveling) and curing the concrete are critical steps that ensure longevity and proper playability of your court.
Surface Preparation: Essential for a Level Playing Field
Regardless of the surface choice, preparation is key to creating a good pickleball court. This often involves leveling the area first. You can use a long, straight 2×4 and a level to check the surface. Any depressions or high spots can be filled in or scraped away with a shovel.
Besides leveling, other preparation might include removing any debris, leaves, or rocks, and dealing with any drainage issues. Water should not pool on your court; thus, consider a slight incline or appropriate drainage solution.
Remember, the quality of your court’s surface directly affects gameplay. Take the time in this table-setting stage for a better play experience in the future.
Marking and Painting the Court
Marking and Painting a Pickleball Court: Tools and Materials
The essential tools and materials needed for marking and painting a pickleball court include measuring tape, chalk line, string line, masking tape, a straight edge or a long ruler, a set square, chalk or a white marking pencil, paint, and a paintbrush or a roller.
Choosing the right kind of paint for durability and visibility
When choosing paint for the pickleball court, it should be durable, visible, and non-slip. The most preferred variety is acrylic-based court paint. This offers excellent outdoor durability and color retention. Because the markings need to be visible, select a bright, contrasting color that stands out against the color of your court surface. White and yellow are traditionally used colors for pickleball court lines.
Measuring and Marking the Court
The first step towards marking a pickleball court is to measure out the court’s dimensions. According to the USA Pickleball Association, a standard pickleball court is 20 feet wide by 44 feet long. Use a measuring tape to get the dimensions correctly.
To start, mark the four corners of the court using the chalk or white marking pencil. After all corners have been marked, use the chalk line or string line to mark each boundary of your court. This gives you an outline to follow when painting.
Then, divide the court in half by measuring and marking a line across the width of the court (20 feet). After marking the midline, divide each half into two equal parts, creating the left and right service boxes. These boxes should each measure 10 feet by 15 feet.
Painting the Court
Once the dimensions are marked, the next step is to apply the paint. Use masking tape along the lines to ensure straight and neat paint lines. Remember to apply the paint liberally to ensure visibility and longevity.
Take off the tape before the paint completely dries to prevent the tape from sticking. For the best results, consider applying two coats of paint, letting it dry thoroughly between each application.
Final Touches
Finally, once the paint has dried, clear away any drops or splatters, and your pickleball court is ready for action. Regular maintenance, such as sweeping debris and occasional repainting, will help keep your pickleball court in top condition.

Installing the Net and Finishing Touches
Choosing the Right Net for Your Court
Picking the right net for your pickleball court is crucial. A regulation pickleball net should measure 22 feet wide by 36 inches high. It also should have a mesh size that does not exceed 1 inch. While you can make your own net, purchasing a quality net from a reputable supplier ensures that it adheres to the necessary specifications.
Installing the Net
The process of installing a pickleball net begins with the posts. The two posts should be positioned 22 feet apart from each other, representing the width of the court. The top of the net should stand 36 inches high at the sidelines and 34 inches in the center of the court. Once you’ve set the posts, secure the net with provided string or cord, keeping in mind that the net should be taut but not overly tight.
Finishing Touches
Next, corner posts are added for stability and look. These should be positioned in each corner of the court – they not only provide a visual framework but also add rigidity to the court.
The final step in creating your court is securing the lines. Use a straightedge and a chalk line to mark the boundaries of the court on the surface. The lines should be 2 inches wide and white or yellow for visibility. Once the lines are laid out, use a durable, weather-resistant paint to make them permanent.
Maintenance Tips
Maintaining your pickleball court is essential in extending its lifespan. Clean your court regularly, removing leaves, dirt, and other debris. Use a soft, damp mop for this task to avoid scratching or damaging the surface. Check the net on a regular basis for any signs of wear or damage, and replace as needed.
Also, re-paint the lines whenever they start to fade. This not only ensures they’re easily visible, but also gives your court a fresh, attractive appearance. Weatherproof the surrounding posts to prevent rust or decay.
Remember, taking care of your pickleball court will help to preserve it for many years of enjoyment.
Having courageously traversed the process of creating a DIY pickleball court, you now possess vital knowledge capable of transforming any suitable space into a vibrant sporting arena. As you’ve learned, a meticulous appreciation of the court dimensions is paramount, followed by a careful selection and preparation of the appropriate surface. The enhancement of the court is brought to fruition through precise marking and painting, and the diligent installation of the net coupled with the essential finishing touches. The journey doesn’t end there though; continuous maintenance is the secret to enjoying your court for years to come. So, embrace these insights and use this newfound proficiency to light up your community with the joy of pickleball.